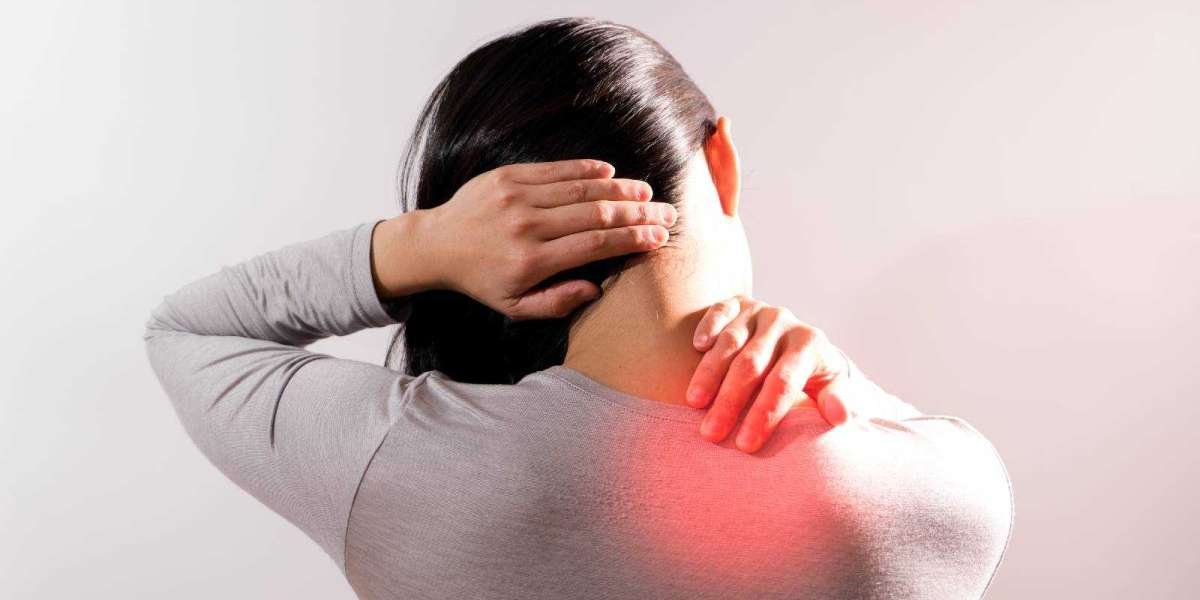
The wig has become increasingly popular as an additional fashion feature, and can be seen everywhere from the streets to the faces of celebrities and everyone in between. It's also regaining some of its former prominence, which is encouraging. Because it adapts to all of your individual tastes and preferences, it is an exceptional daily-wearing beauty ally for the vast majority of people, as an excellent starting point to consider. Does it stand to reason that you've daydreamed about having flawless, silky hair or gorgeous, glamorous curls, but you've been too afraid to take the steps necessary to achieve your hair and beauty goals? Take advantage of the situation that has been presented to you. The best tips and tricks for straightening and curling your wig in a safe and efficient manner will be discussed during this session. Bring your wig and join us for a night on the town!
Because synthetic wigs have the potential to catch fire very quickly if they are not handled properly, we strongly advise you to keep an eye out for websites that offer to straighten or curl them for you before purchasing one. For natural wigs, it is recommended that you use heat sources on wigs that are not fearful of heat sources in the first place when styling them.
Remove a little of the natural curl from her wig and straighten it to make it more presentable for the occasion.
FIRST, make sure that your wig is properly aligned with your face by placing it on a head holder or, better yet, on a polystyrene head before proceeding to the following step. It is necessary for the fibers to be able to move freely without coming into contact with the support structure in order for brushing to occur. If you prefer a more straightforward solution, you can simply use pins to hold the wig in place, which is an even more straightforward option than using clips. To keep the hairstyle in place, several pins should be placed at the back of the head, on the top of the head at the temples and along the sides, behind each ear, and on the top of the head to keep it in place. While things are being assembled and put together during the construction process, pins or thumbtacks can be used to hold things together while they are being put together and assembled.
Take your wig and untangle it as much as you can in order to complete STEP 2 successfully. This can be accomplished with the help of a coarse-toothed wooden brush, such as the one we recommend. Hair should never be brushed in the opposite direction of the tips of the hair, but rather in the direction of the roots of the hair, as shown in the image.
THIS IS THE THIRD STEP: Preparing and protecting the hair with a conditioner will help to keep it looking healthy and youthful for a longer period of time.
STEP 4: Tie the top of your hair into a loose bun, just enough to allow the lower hair to be free. STEP 5: Style your hair as desired. STEP 5: Style your hair in the manner that you prefer. STEP 5: Finish by styling your hair in the manner of your choice. Finalize the look by styling your hair in the manner of your choice. STEP 5
STEP 5: To complete the look, use a hair straightener to straighten your hair from root to tip, starting at the top of your head and working your way down to your feet.
Lower hair can be straightened by curling it with an iron set to the bare minimum temperature (150 degrees). Take strands that are 2 to 5 cm wide and curl them in a clockwise direction, starting at the bottom of the head and working your way up. Finish the look by removing your bun from your hair and straightening the top section of your hair. Once you've completed one side of your hair, repeat the process on the other side.
Following your confirmation that your hair is free of tangles, you can use your hair dryer to place strands that are 2 to 5 cm wide at the front of your hairline using a round brush.
When blow-drying your hair, set your hair dryer to the lowest temperature it will go while lowering your brush along the length of your hair to achieve the best results. Remove your bun from your hair and smooth the remaining strands with your fingers in order to smooth the rest of your hair. At all costs, avoid blowing your hair straightener directly into your face.
Pinching the hair in your natural wig with your fingers will allow you to create curls in the hair.
STEP 2: PLACE YOUR WIG IN THE SAME POSITION AS IN YOUR FIRST STEP. STEP 2: Take the pins out of their respective holes and set them aside.
When you get to the second step, you'll detangle your wig in the same manner as you did when you got to the first step.
Tip No. 3 for Styling:By spraying from the top to the bottom of the hairstyle, saturating it from the roots to the ends, starting at the top and working your way down
Suggestions for styling:Tie the top of your hair up in a loose bun, leaving just enough space below the bun for the lower hair to flow freely. Tie the bottom of your hair up in a loose bun.
CONTAINED WITHIN THE COOLING SYSTEM IS IRONThen, using the curling iron, curl the wick until it is between 2 and 5 cm in length. STEP 6:Wrap the wick around the iron, taking care not to allow it to come into contact with the base of the wig, as this could cause the wig to catch fire, possibly more than once, if it does. Once you've completed the wig end you created at the base of your iron, you're done! -
The process is complete when you take the iron away after 5-10 seconds and then repeat it once more. In order to complete the lower strands of hair, it is necessary to repeat the previous step several times. Once you've finished, separate your bun from the rest of your hair and curl each individual strand in the opposite direction of the bun's movement. If you want the curls to be less visible, the final step is to brush them with more force than usual.


Popular Posts